Adapting MailChimp's Two-Column template
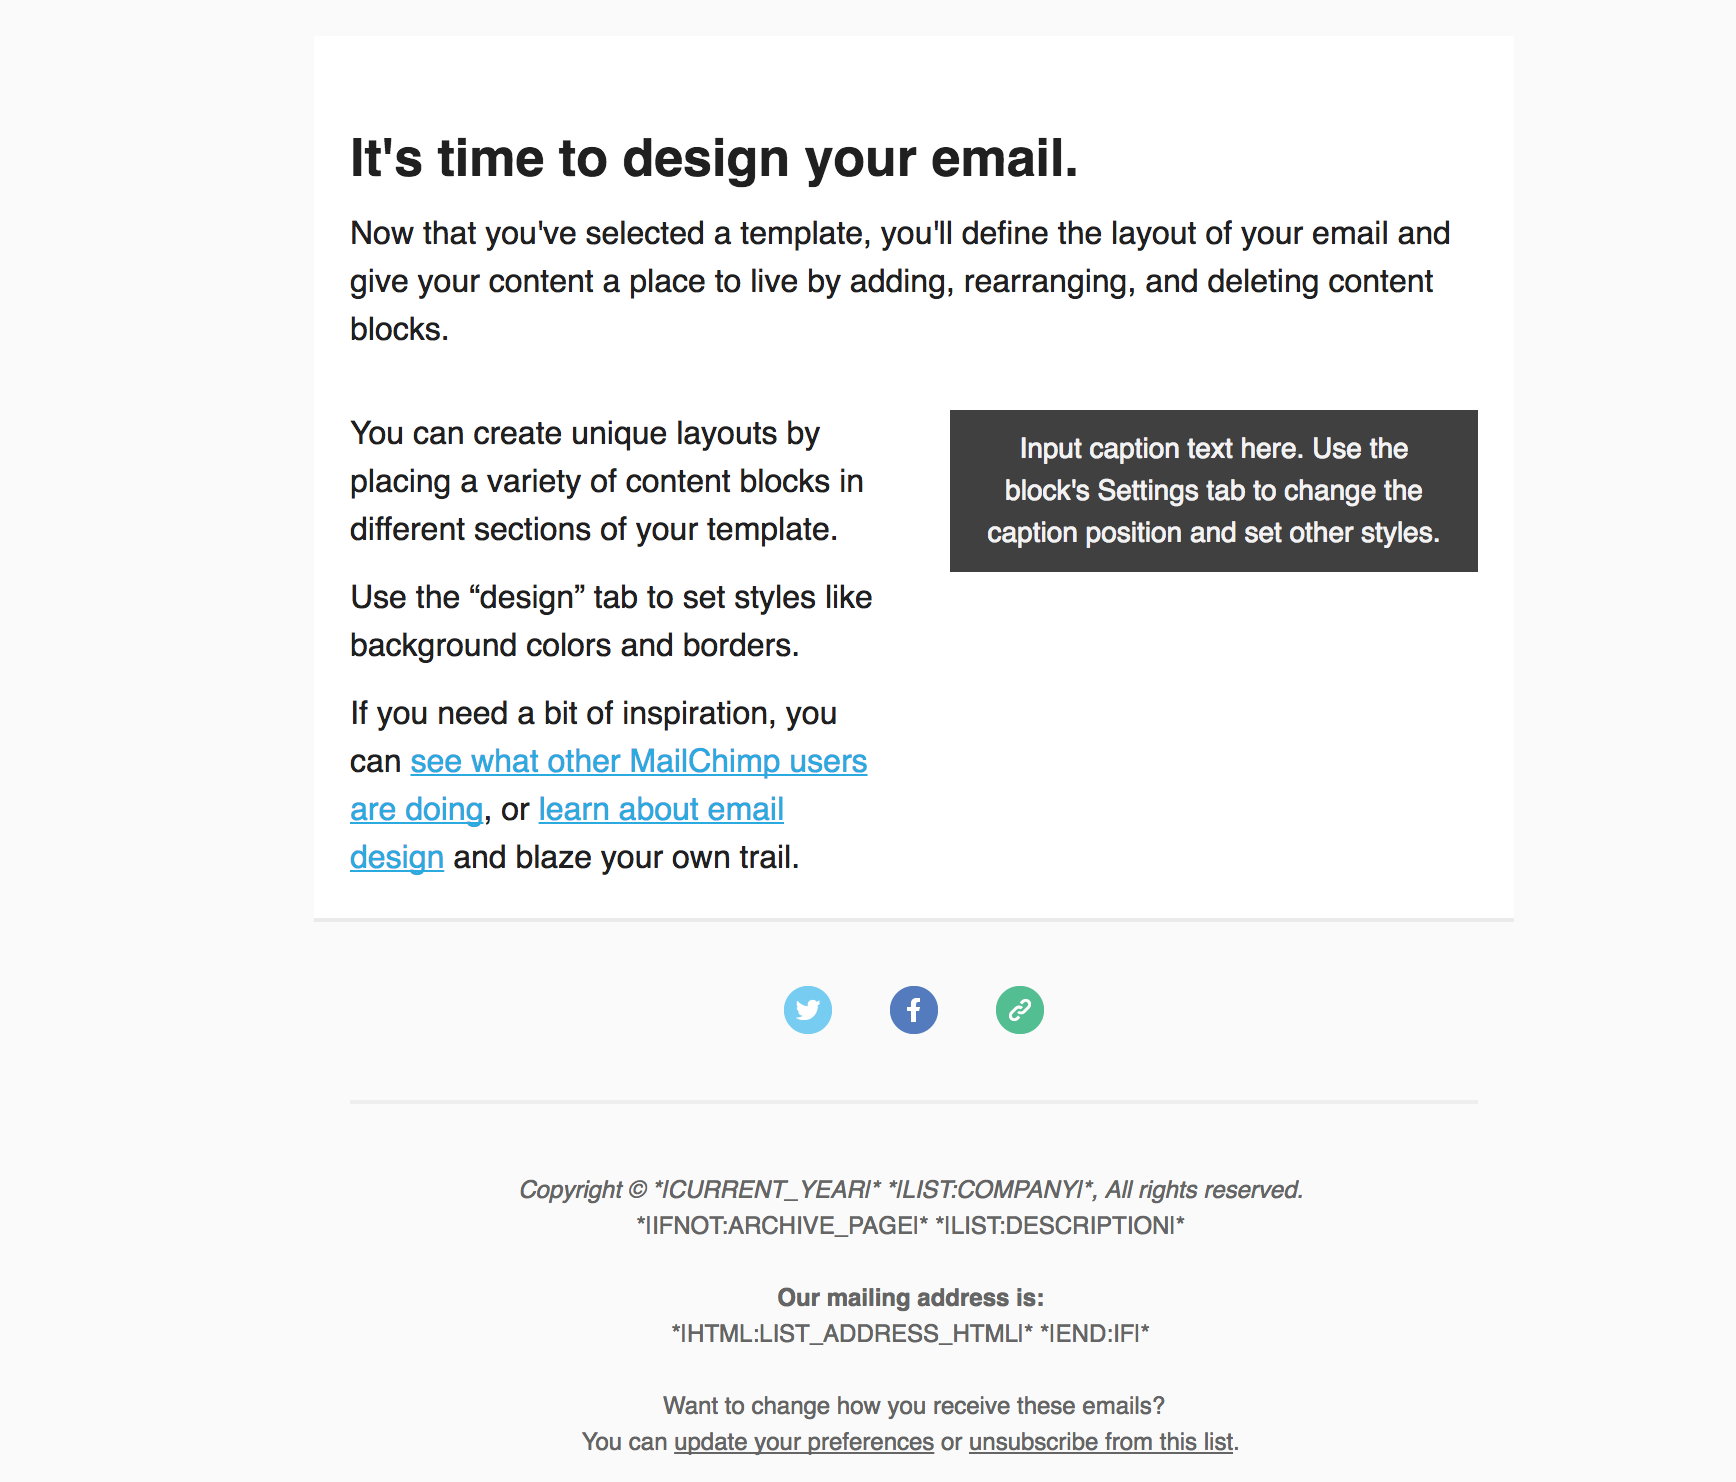
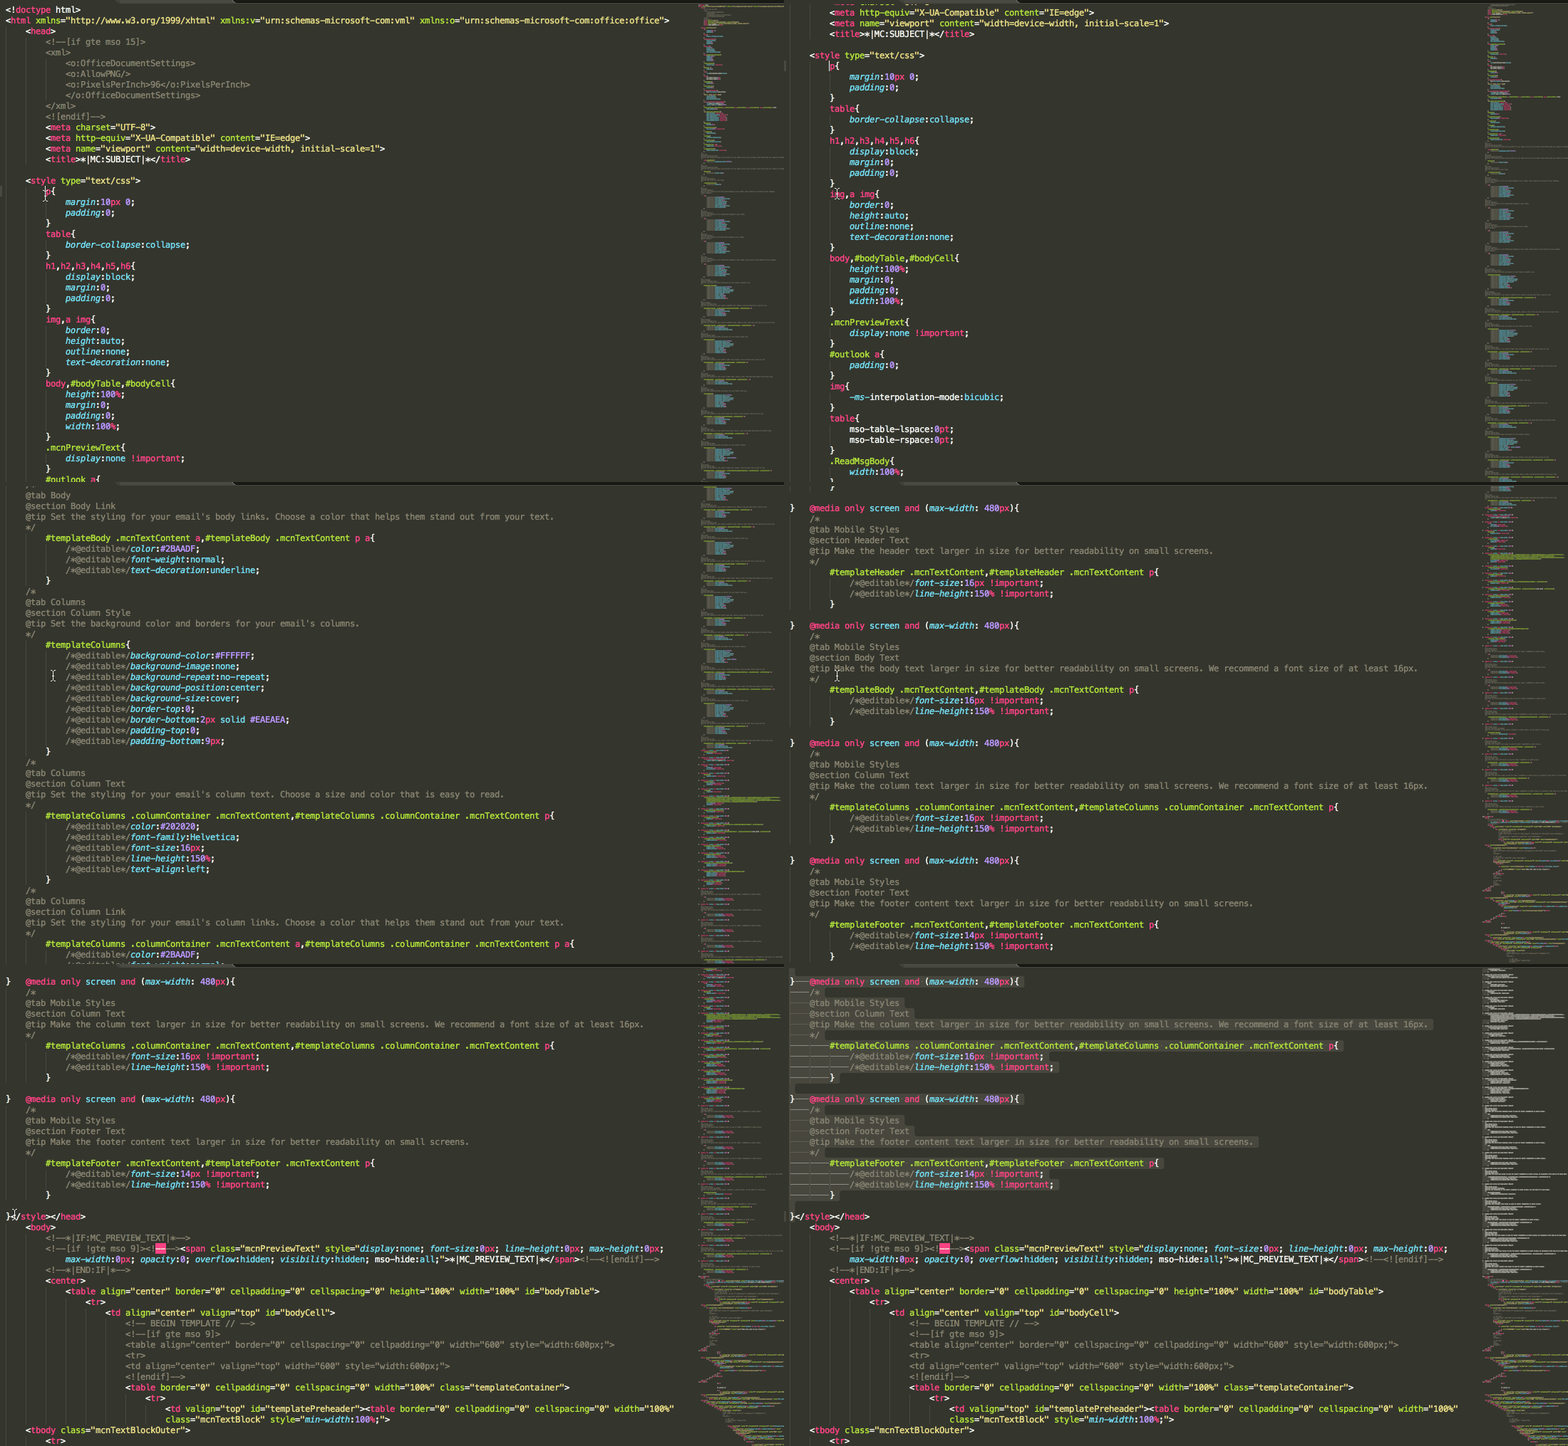
If you use MailChimp, you’ll be familiar with their pre-built templates, and this is one of the more straightforward ones! It looks something like this when you start, (depending on your client):
To adapt it into a Customer.io layout, remember that you have to split it into two parts:
- Layout - what is consistent across emails? how will it look? what is its structure?
- Content - what do you want to edit on a per-email basis?
Split up the template
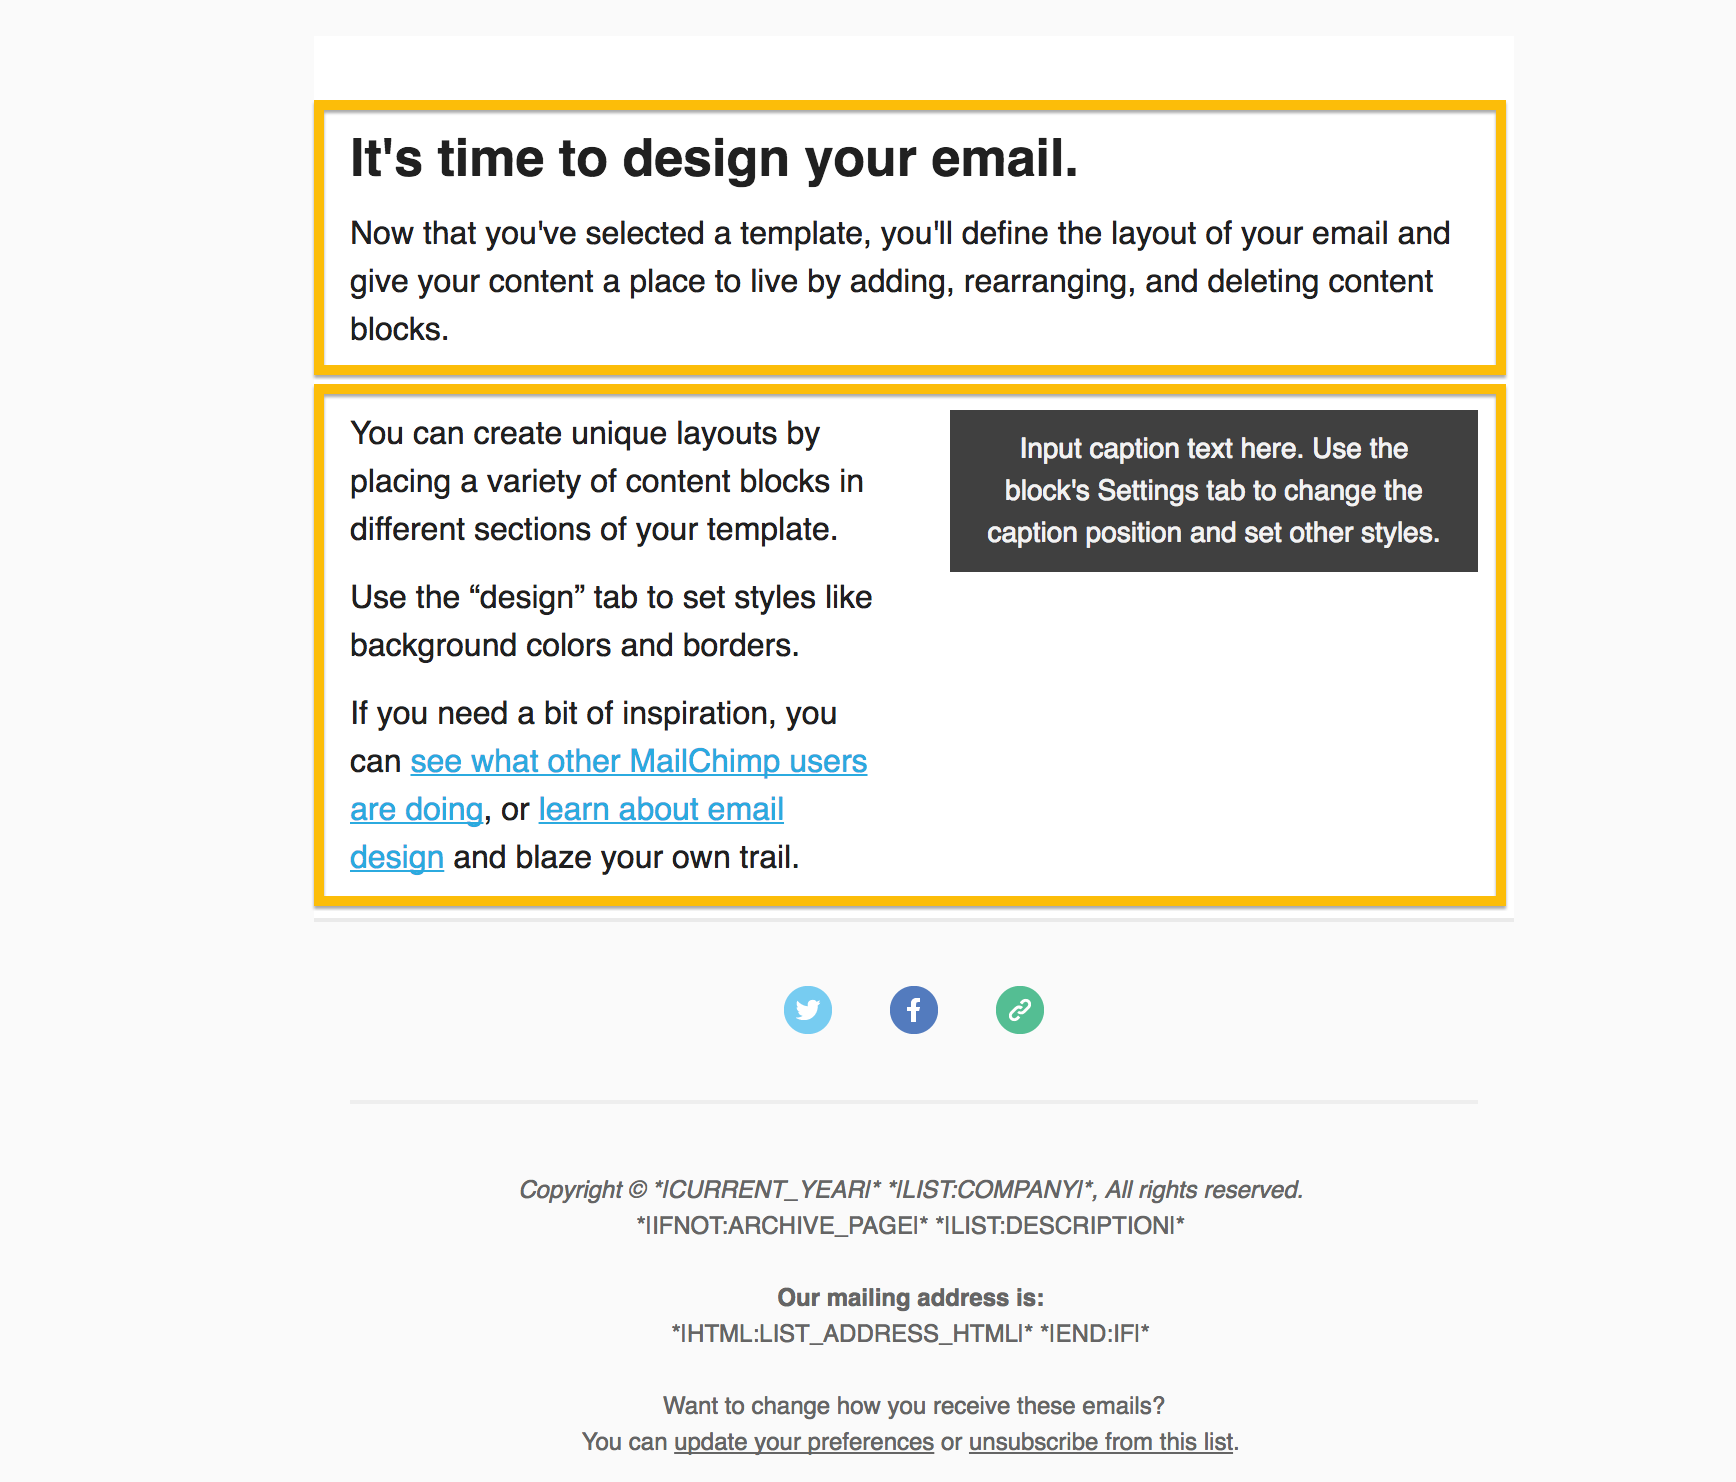
I’ve decided that everything in the yellow box, I want to edit on a per-email basis:
So let’s do it!
Pull out HTML that governs the content
I’ve found it’s easiest to do this with two tabs in a code editor. The first has the HTML of the template, and the other is blank.
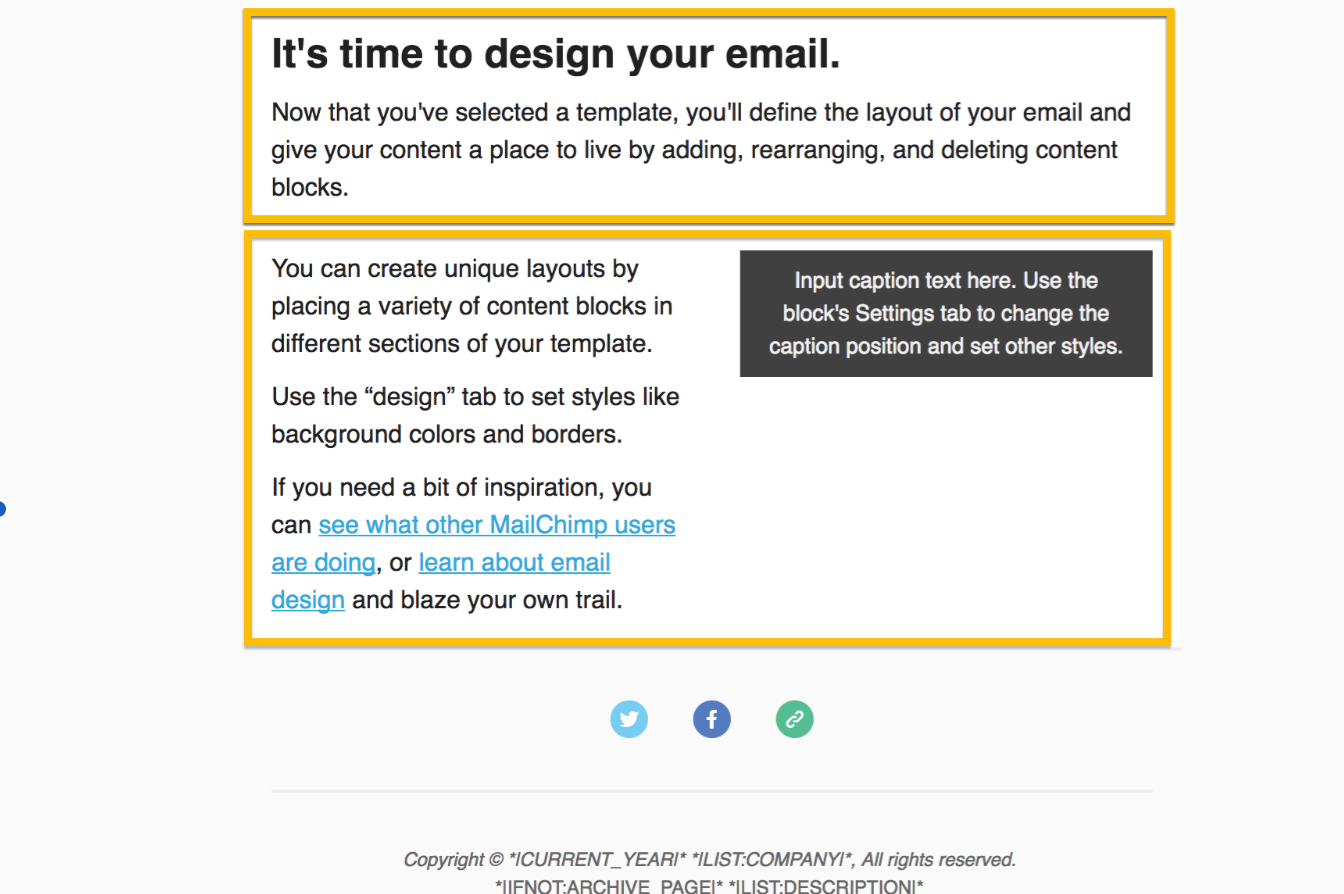
Look at the HTML for the template, and pull out the part that governs the content you’ve identified, and only that content. In this MailChimp layout, that’s the two table rows for templateBody and templateColumns:
The code for them is located between lines 667-787. Here’s a gif of me pulling that content out:
If you’d like the raw code, you can find it here.
Once you’ve cut this code from the HTML template, paste it into your blank code document to save it for later.
The Customer.io Layout
Meanwhile, everything else in the code for the Basic layout will then go into the Email Layouts area. There, choose to create a new layout from scratch:


Here’s the basic skeleton code:
<html>
<head>
<style type="text/css">
</style>
</head>
<body>
{{content}}
<a href="{% unsubscribe_url %}" class="untracked">Unsubscribe</a>
</body>
</html>
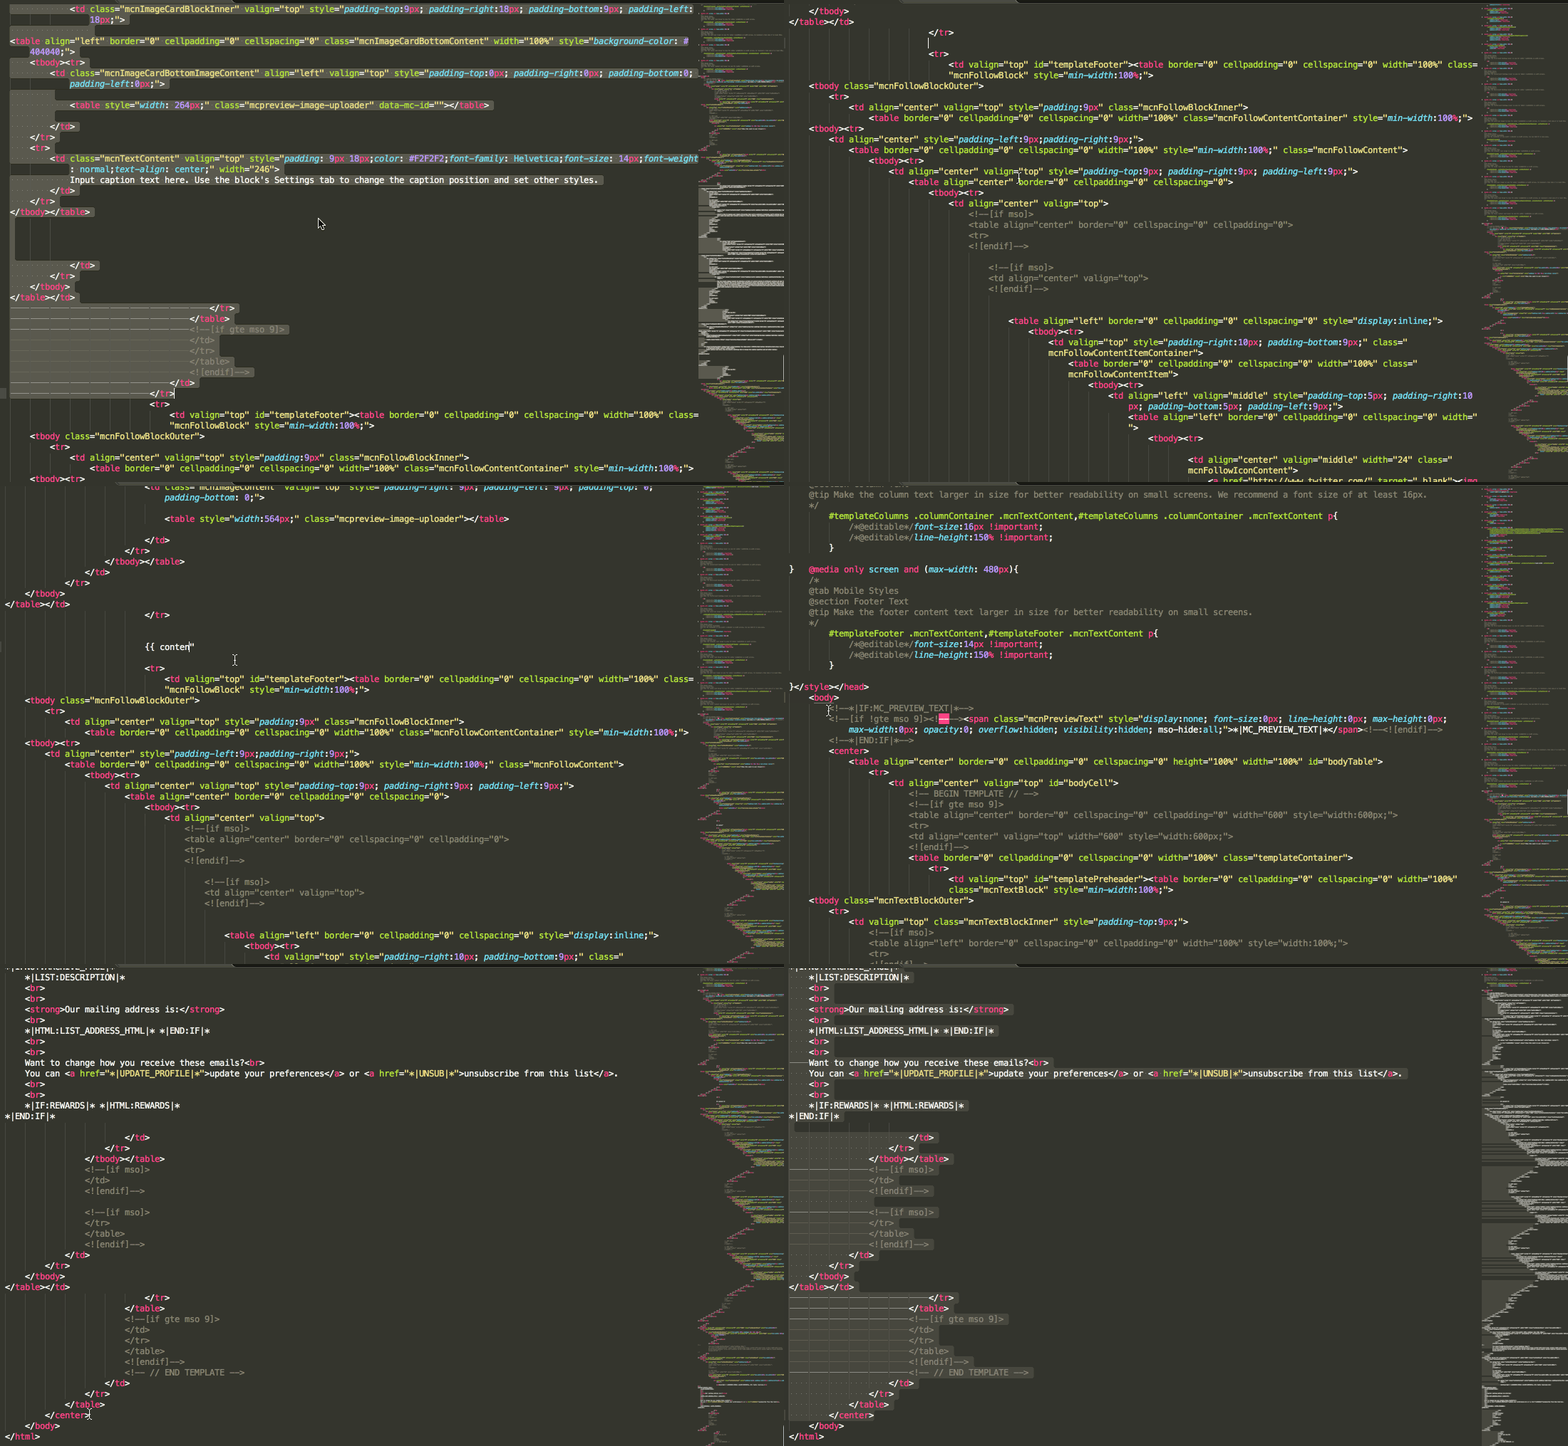
Between style tags, get the MailChimp style out (it’s lines 19-587 for me). Put it between the <style></style> tags at the top of the Customer.io layout:
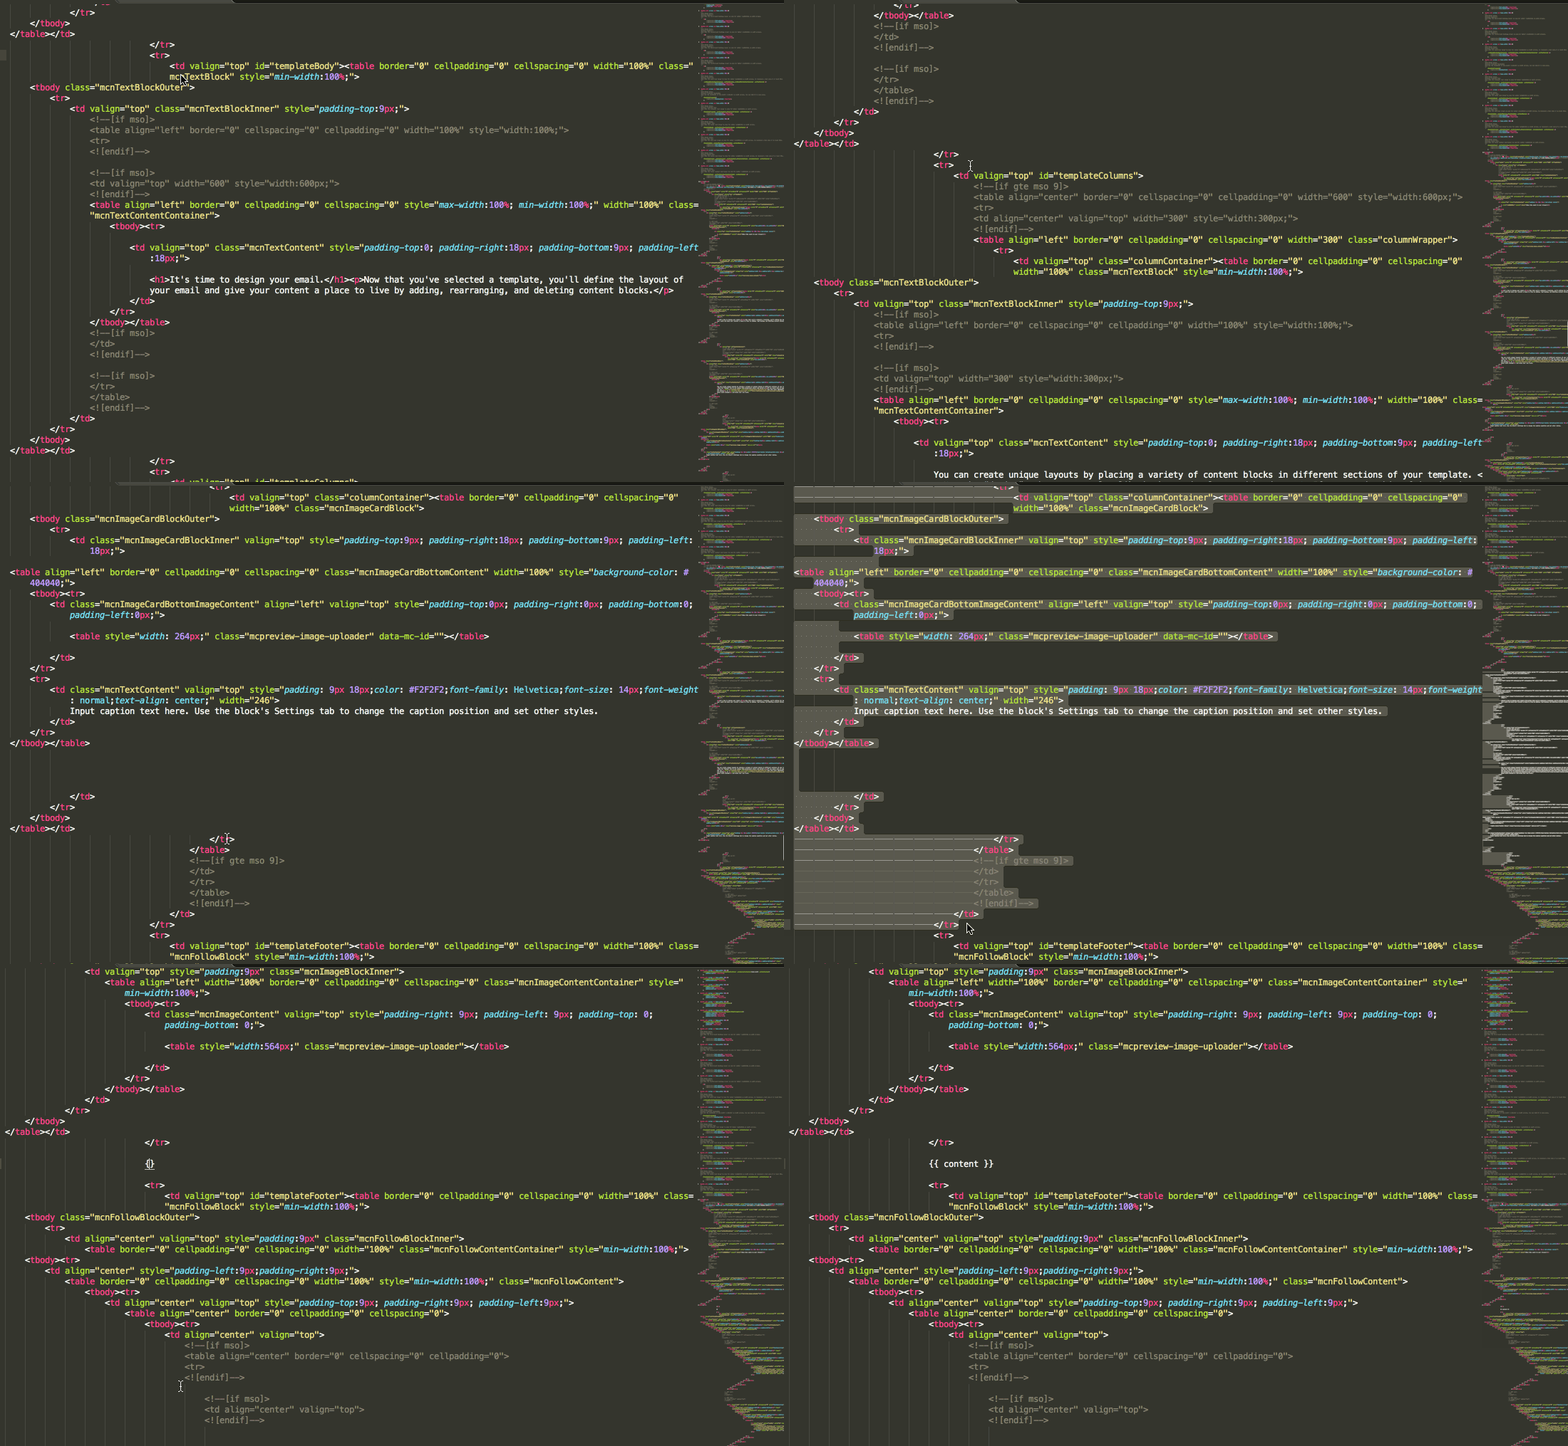
Second (and this is the slightly tricky part), get the structure. Remember when I pulled the content out of my email above? Everything that’s left between the two <body></body> tags is what will go in your Customer.io Layout:
Copy and paste that code between the two <body></body> tags from the MailChimp template into Customer.io, with two caveats:
1. Make sure that you keep the Customer.io {{ content }} tag where your email body will go.
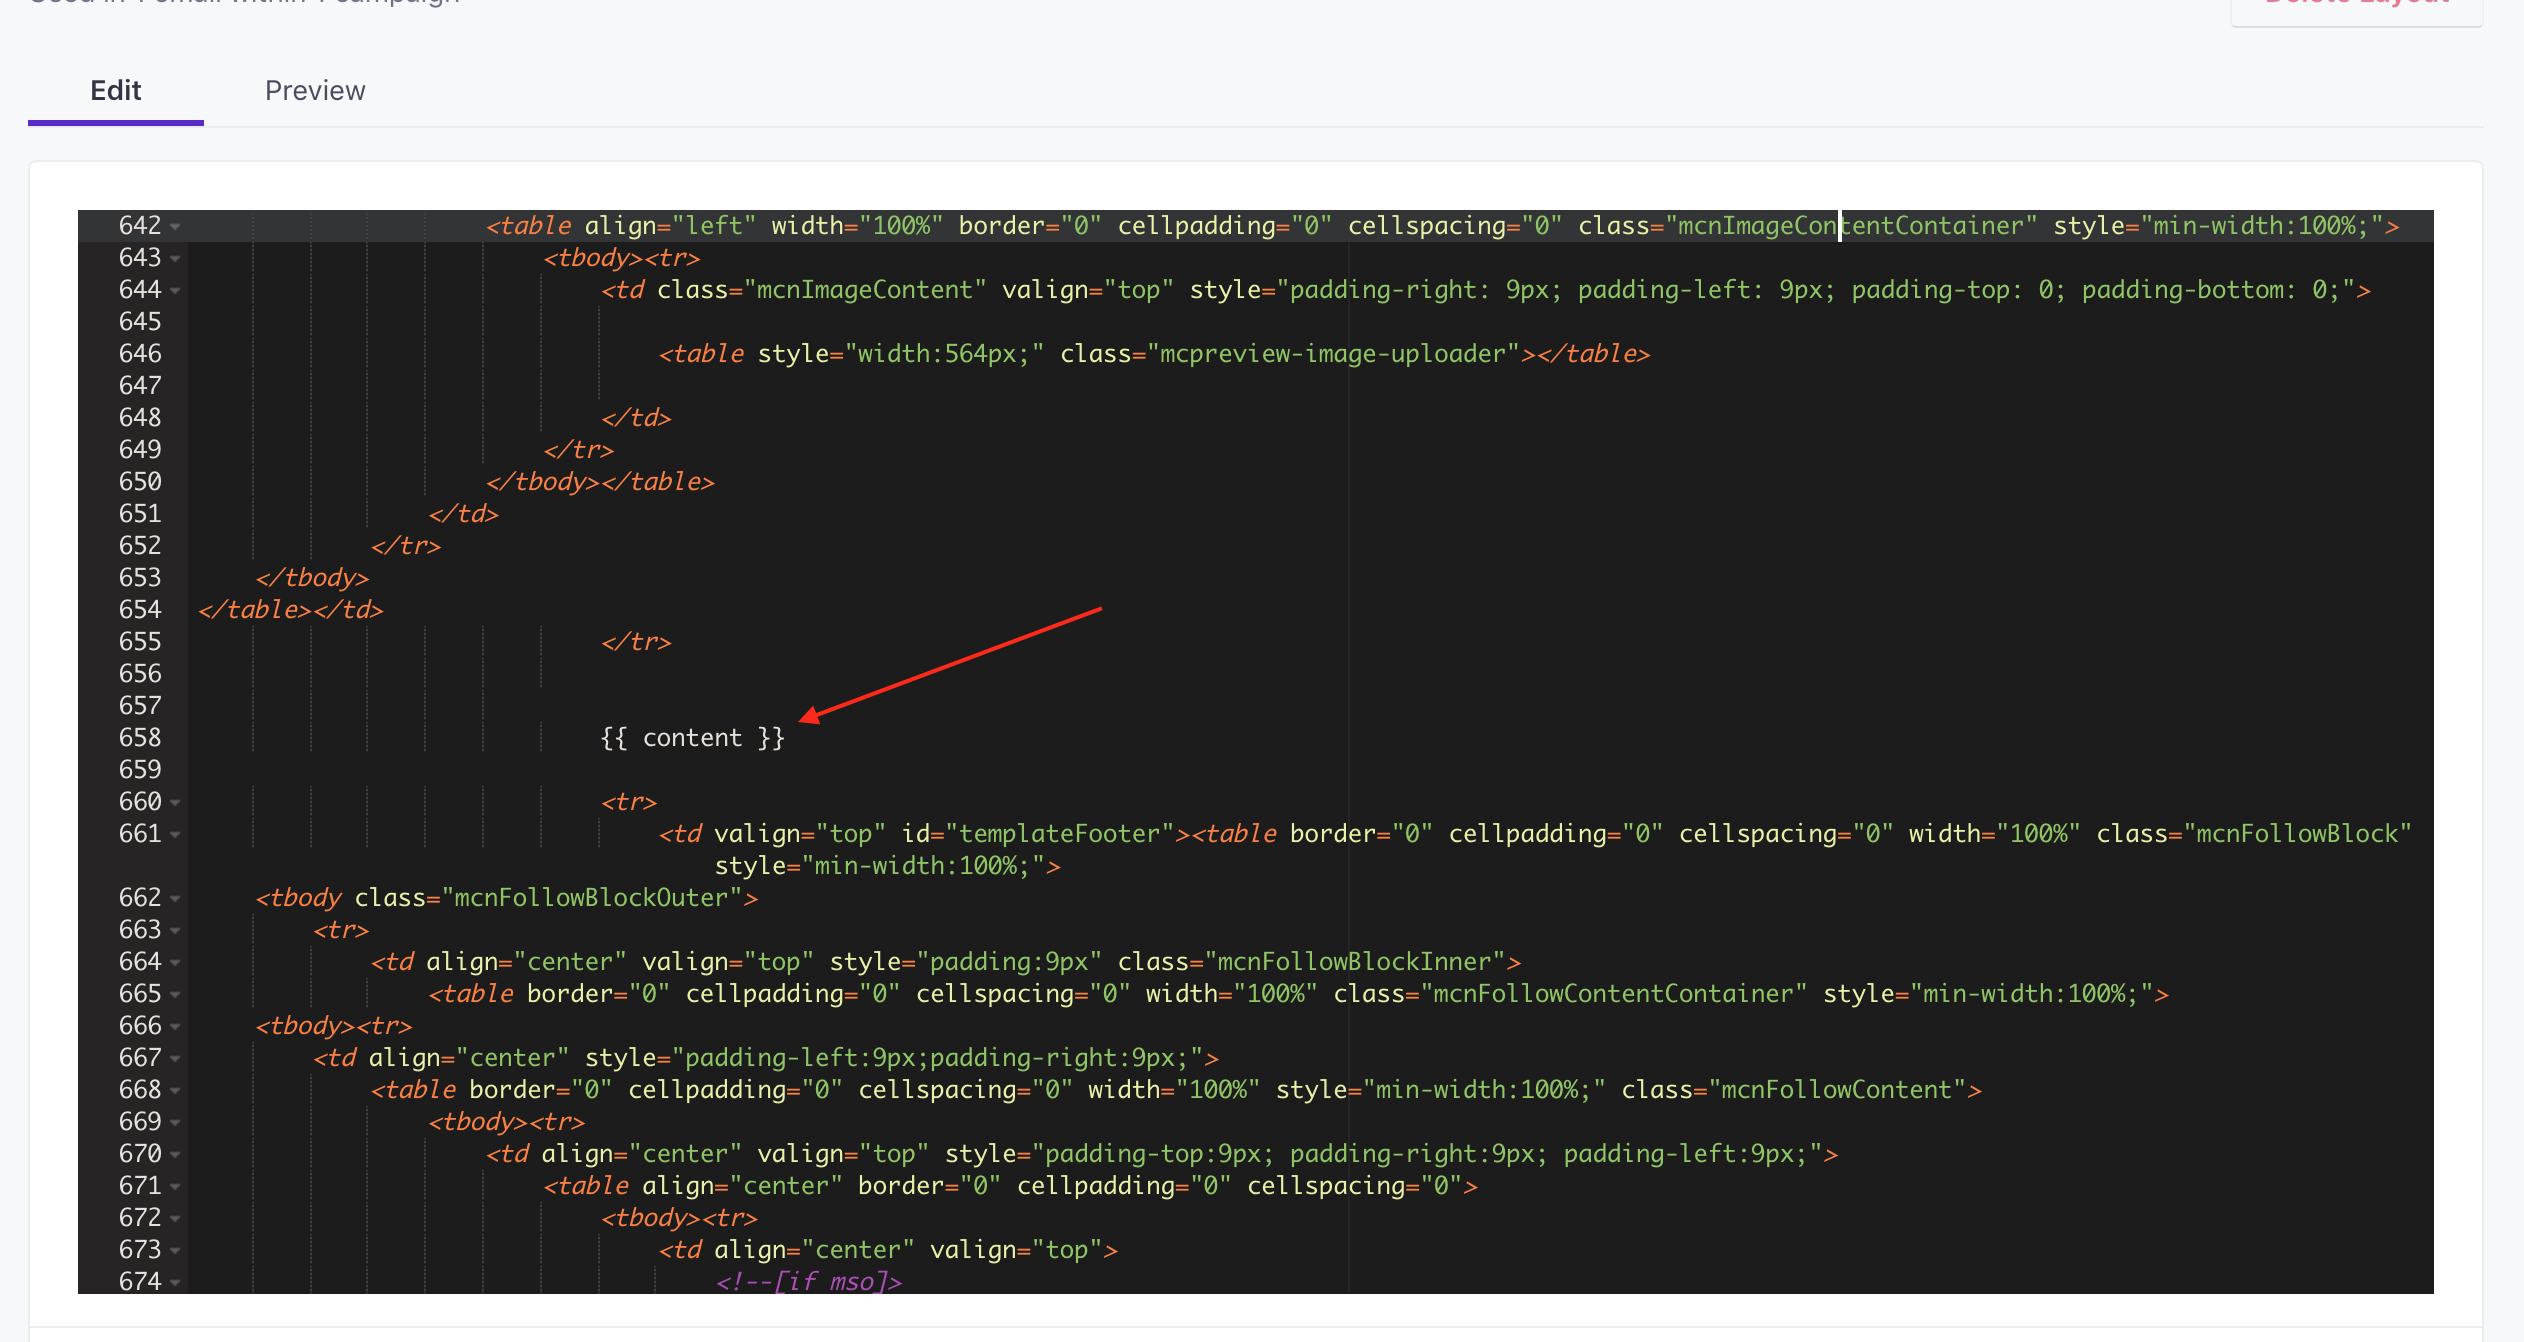

2. Keep an unsubscribe link! I’ve kept the Customer.io default, which is
<a href="{% unsubscribe_url %}" class="untracked">Unsubscribe</a>
Then, just save your new layout! You can now use it in your emails. So let’s do that!
Back to the content!
Remember the content code you saved, the two table rows from lines 667-787? It goes in the Composer when you create your email:
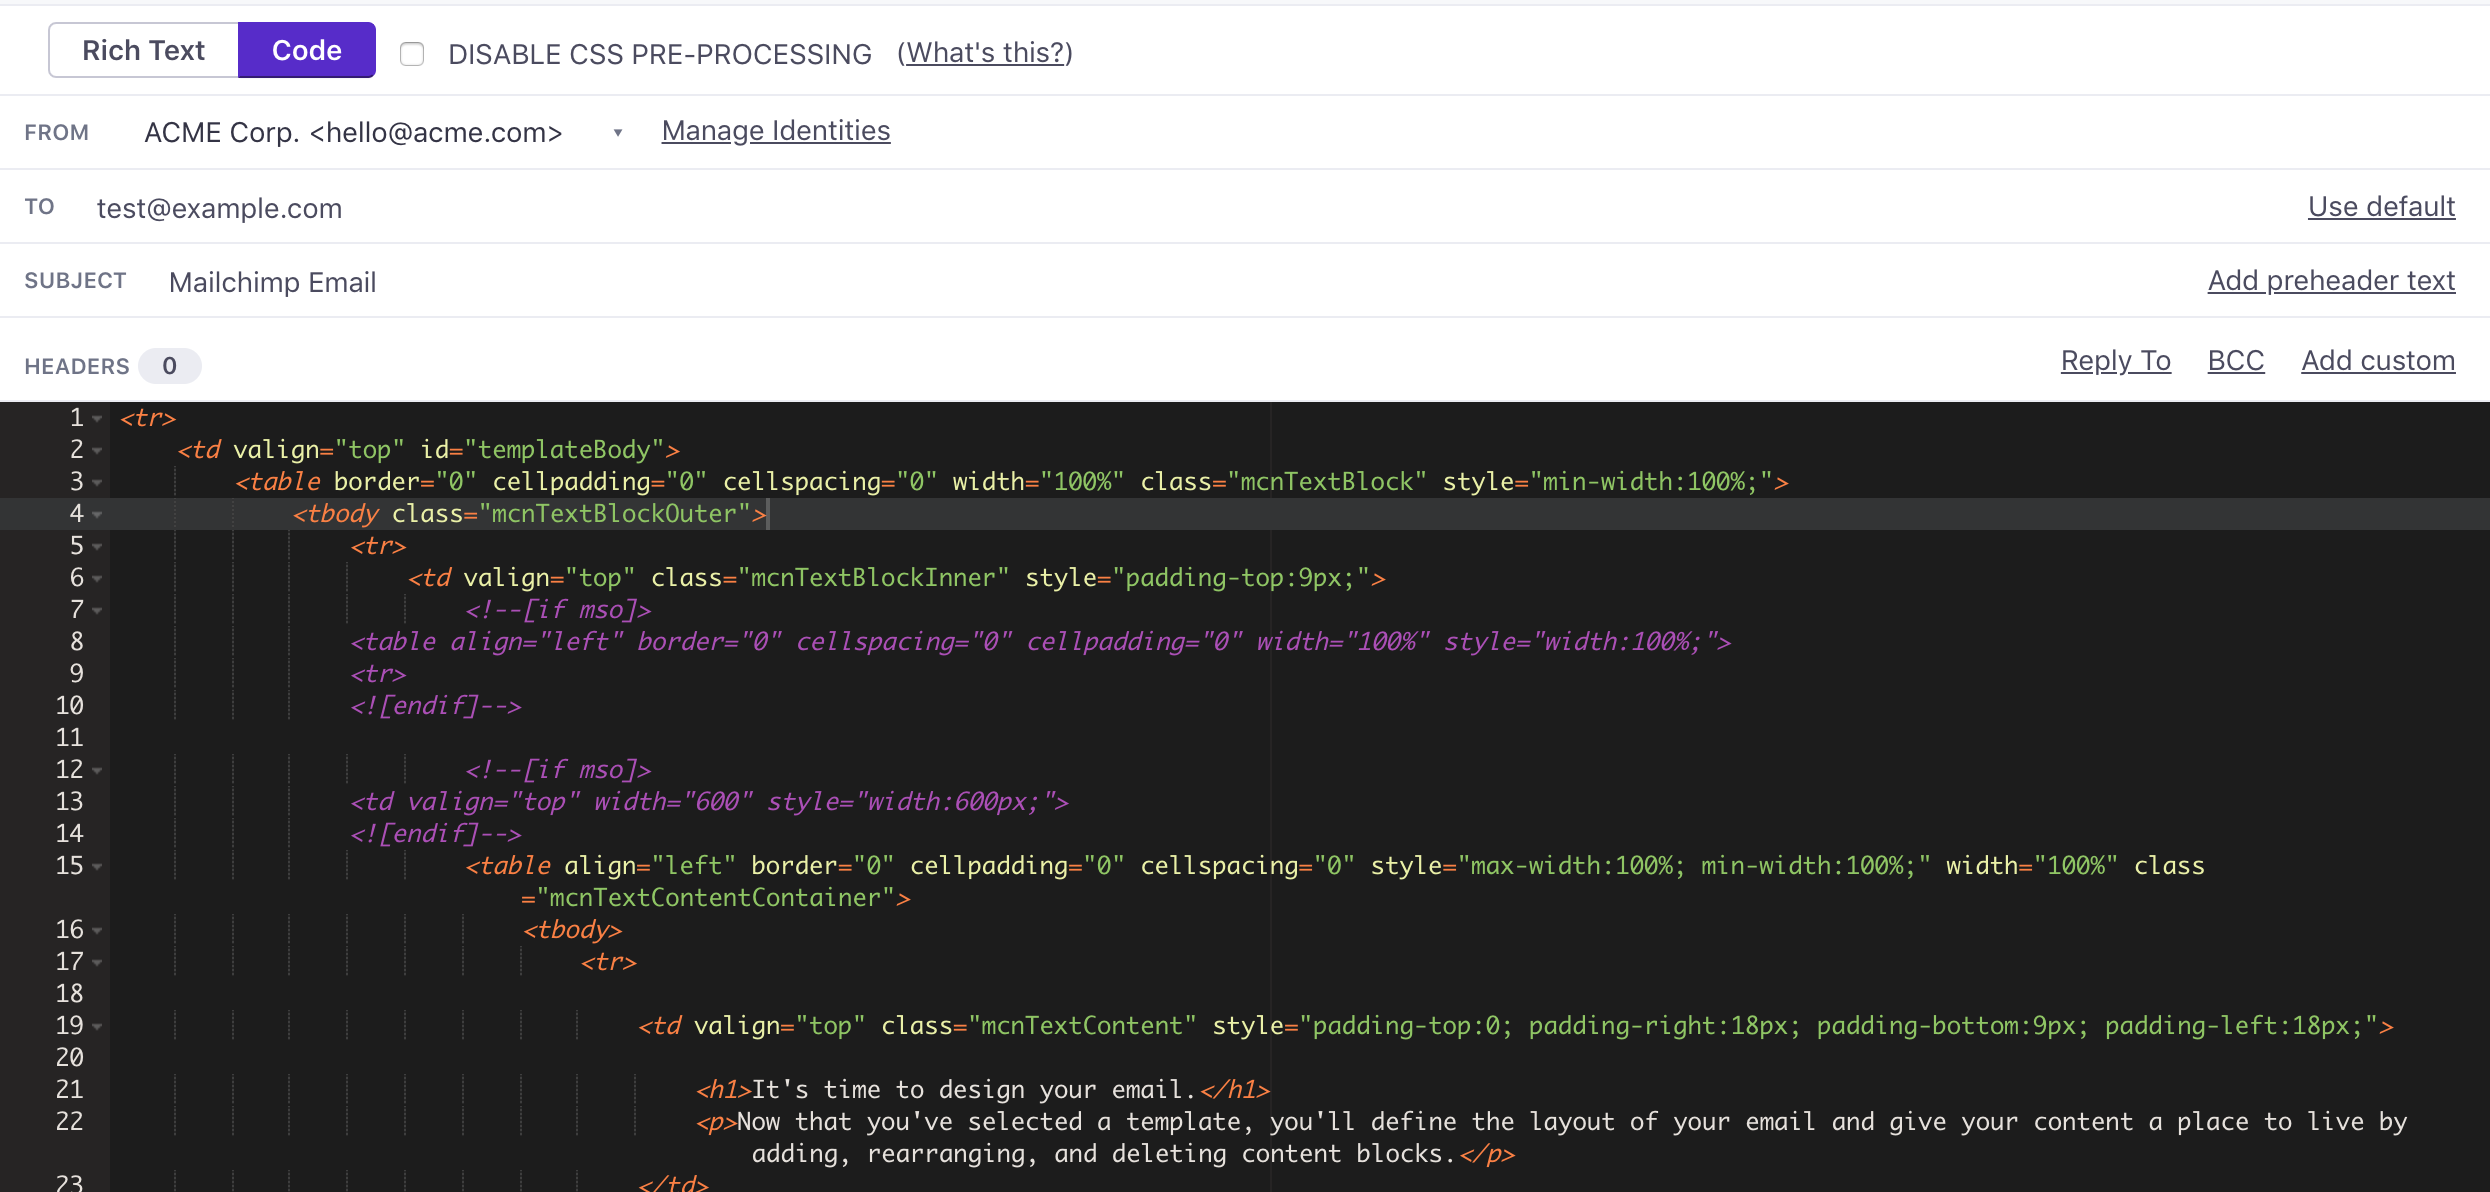

This means that you can edit it on a per-email basis. You should stay in Code Mode while doing so; this prevents layout breakages induced by the rich-text editor.
Then, just make sure that your layout is selected in Layout & Preview:
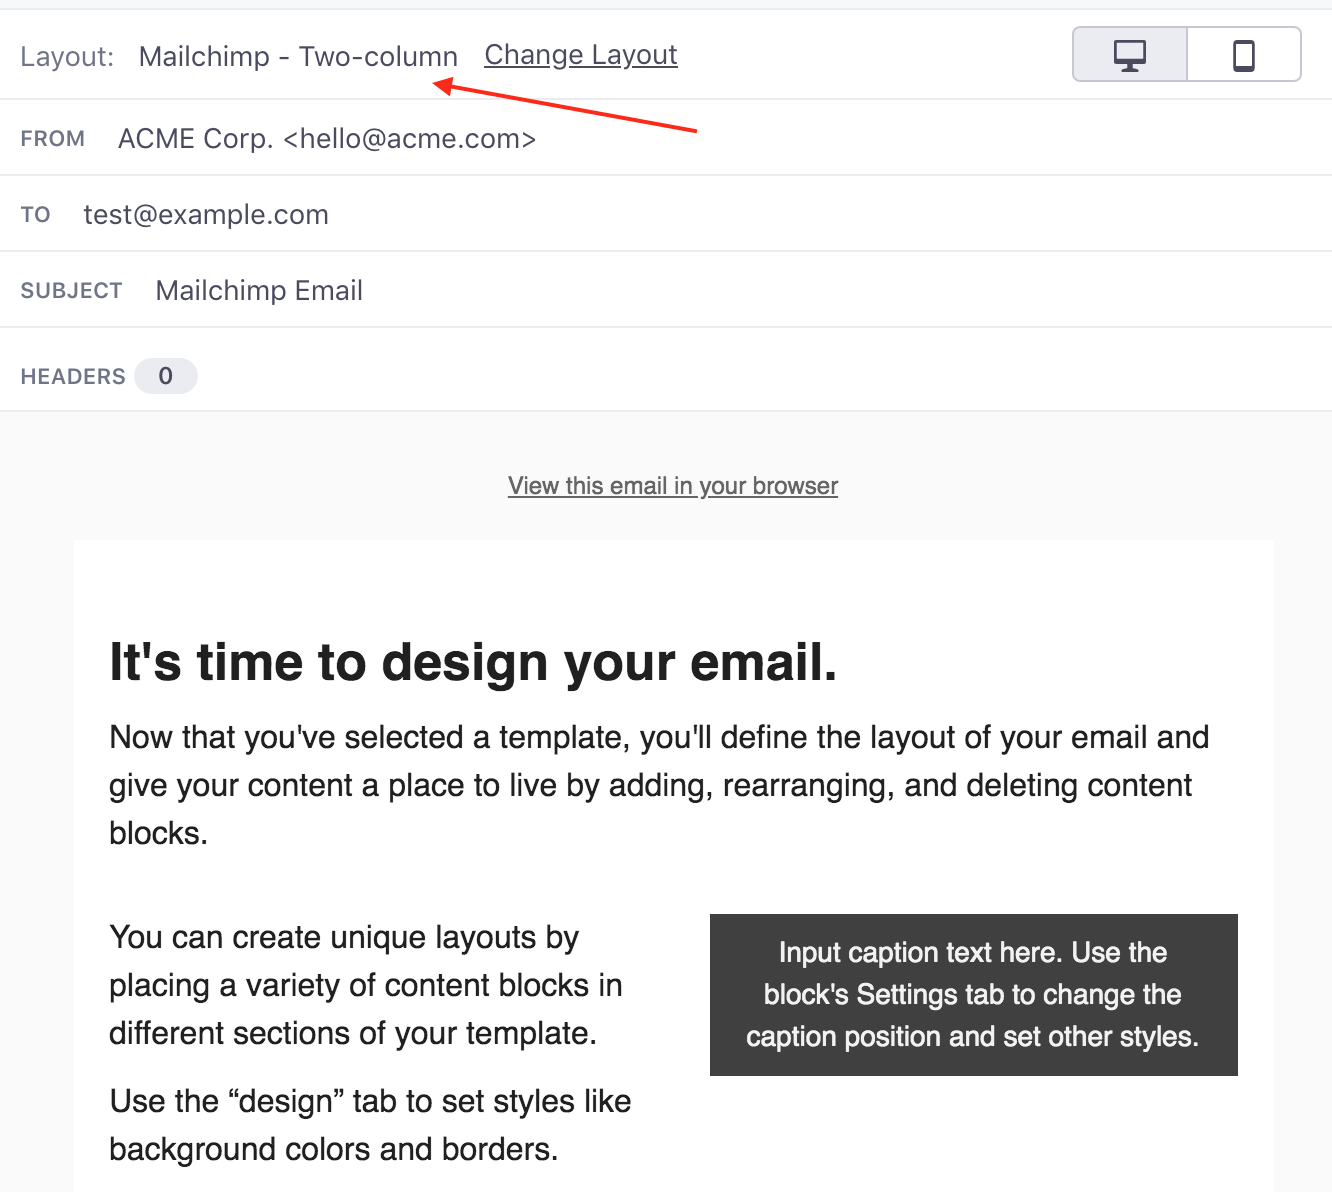

And we’re done!
Grab the final code to paste into Customer.io
In case you’d like to copy and paste the code we worked through directly, you can grab the final code for what I have in my Email Layout from Github and here’s the HTML for the Email Content.
A note on MailChimp merge tags
Adjust any MailChimp-specific tags (*|MC:SUBJECT|*, for example) to work with Customer.io.
