LaunchDarkly Destination
About this integration
LaunchDarkly helps you manages features, so you can safely deliver, control, and measure your software through feature flags. This integration connects your existing events to custom metrics in LaunchDarkly, so you can take advantage of your source data in your experiments.
Getting started
Go to the Data Pipelines tab and click Connections.
Click Add New under Destinations.
Select the LaunchDarkly destination.
(Optional) Select the sources that you want to connect to this destination. You can always connect sources to your destination later. We’ll only show you eligible sources.
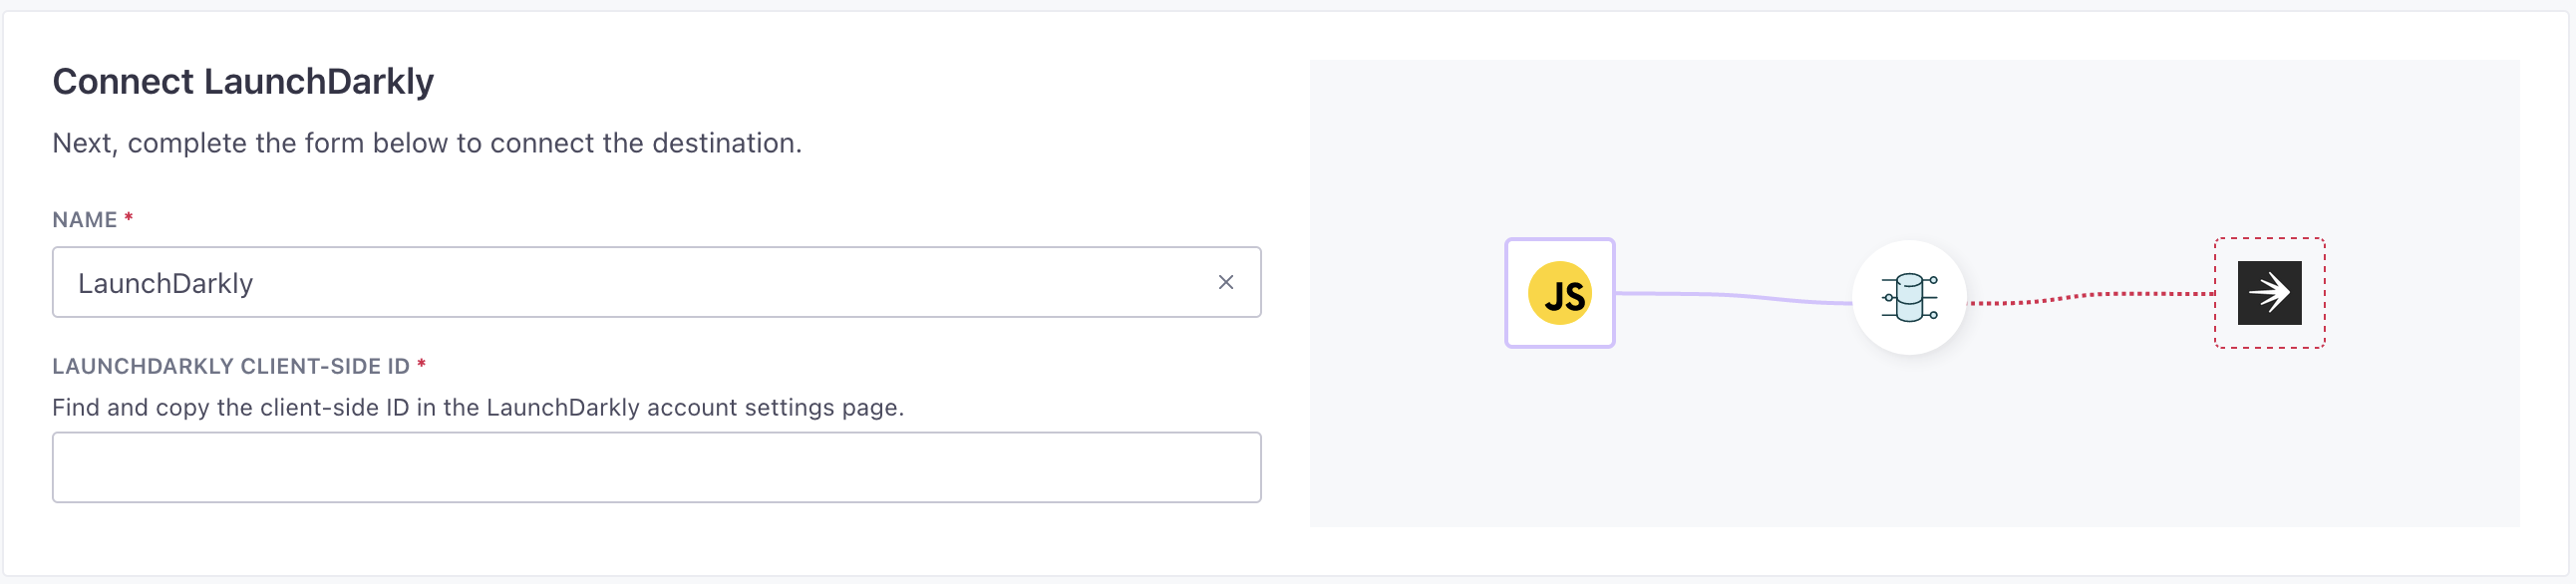
Configure your destination.
- Client Id: Find and copy the client-side ID in the LaunchDarkly account settings page.
Click Enable Destination.
Actions
To get the most out of this destination, you need to create metrics in LaunchDarkly corresponding to your track events. See Creating metrics for help representing your source events in LaunchDarkly.
When you’re done setting up your destination, you can go to the Actions tab to see how we map source events to your destination.

| Action | Default Trigger | Description |
|---|---|---|
| Alias User |
| Alias an anonymous user with an identified user key. |
| Track Event |
| Track custom events for use in A/B tests and experimentation. |