Editing Account Information
You can edit your account information, including your account’s primary technical contact, billing address, and logo.
All of these items can be edited in in your Account Information.
Uploading a logo
After clicking to edit, you’ll be able to add, replace, or delete a company logo:
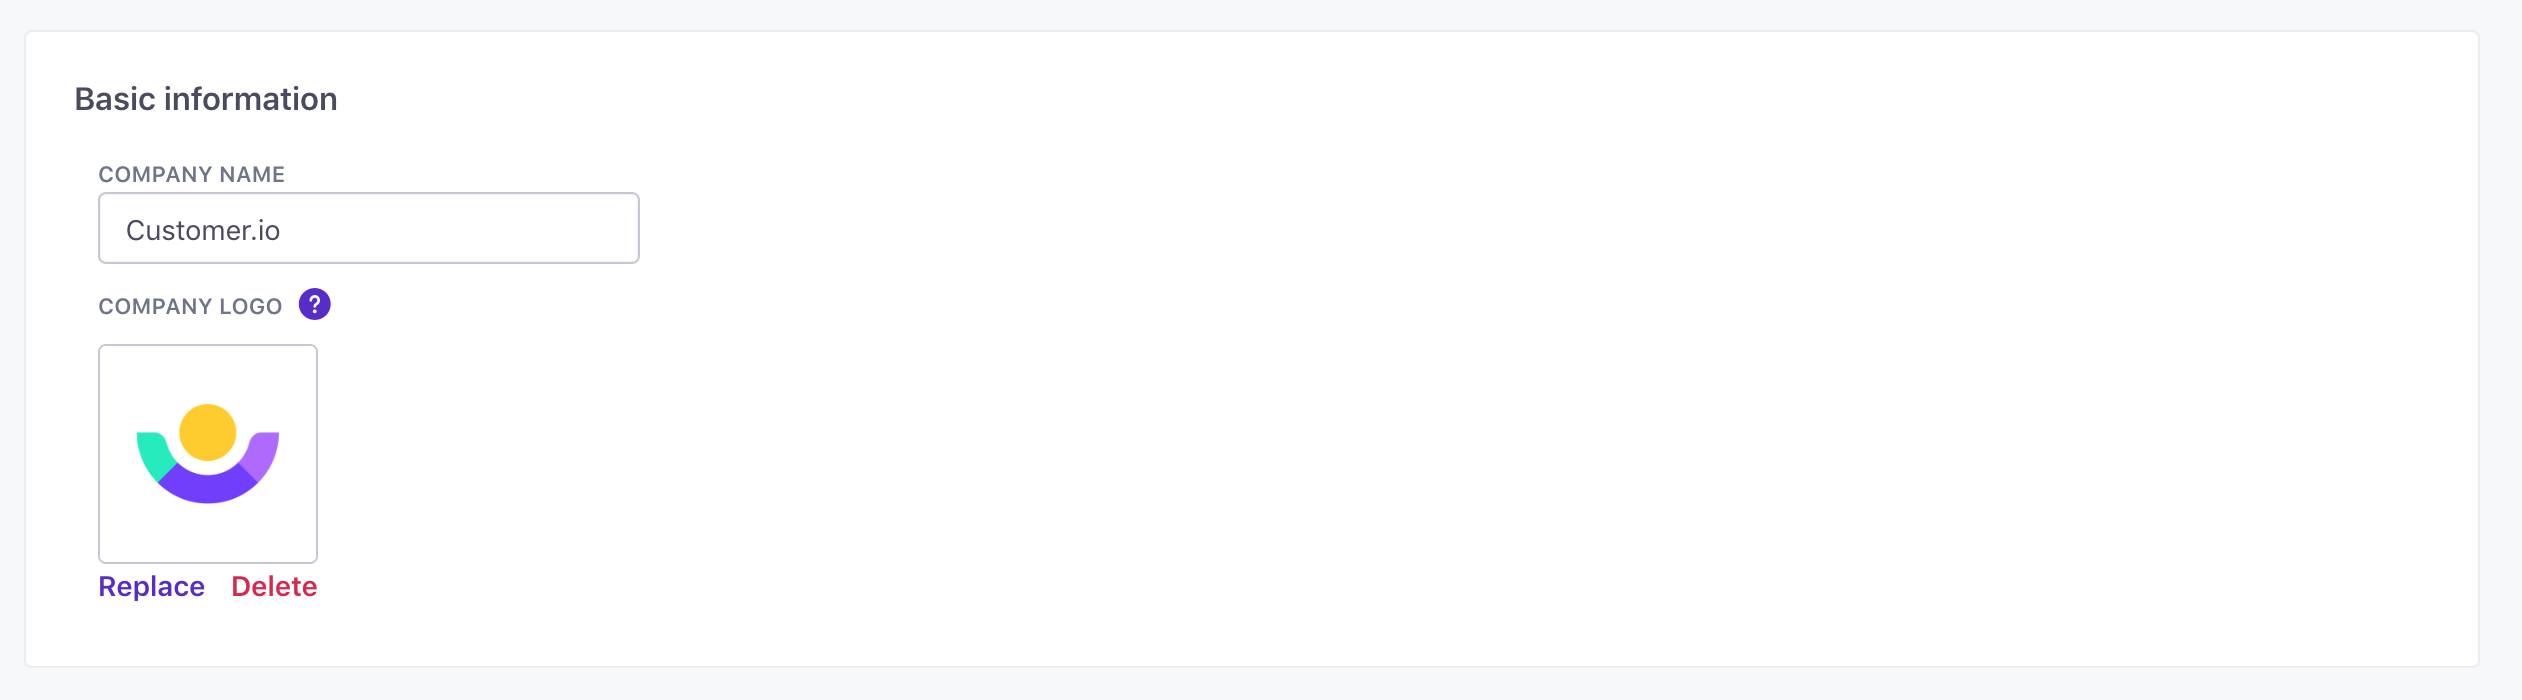
Please note that the file must be more than 200x200. The logo image will be automatically cropped to a square. We accept BMP, JPG, JPEG, PNG, and GIF files. We do not support SVG.
When added, the logo will appear in your navigation bar:

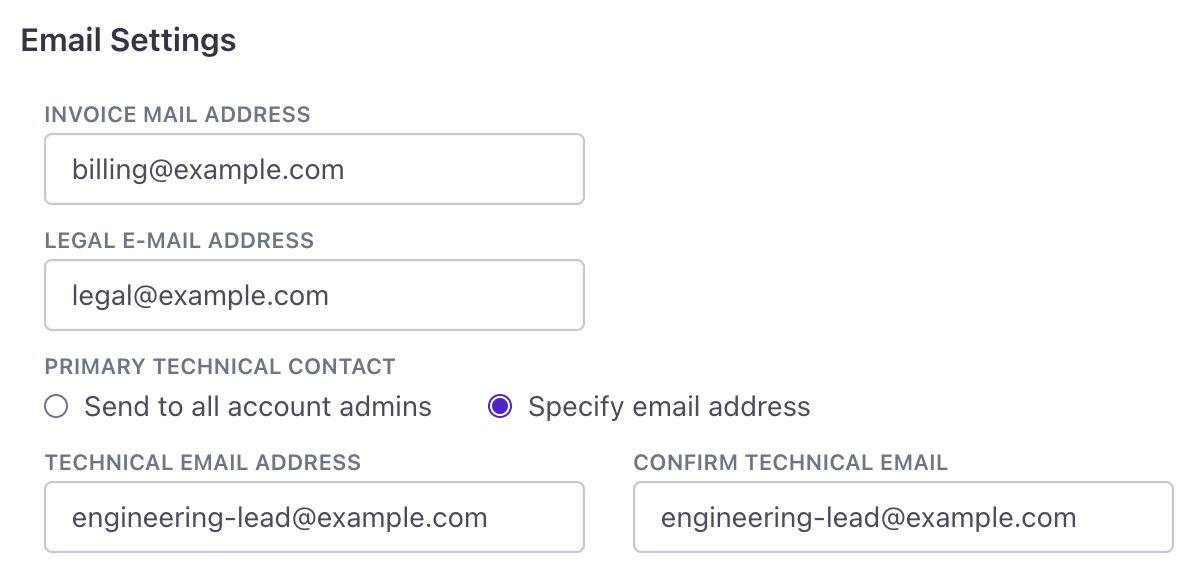
Changing your invoice email address
In Account Settings, one of the contact details you can customize is the “Invoice email address.” This is the email to which we send your account’s invoices.
By default, this address is the one you signed up with. If you want to change who we send invoices to, click Edit Account Information in the top right, change the address, then add it once more in the confirm field.

Click Save changes at the bottom right.
If you don’t customize the address or if you leave the field empty, invoices will go to the email address you signed up with when you created your Customer.io account.
Changing your legal contact
By default, your legal contact is the same as the email address you signed up with. If you want to change who we send legal updates and information to, go to Account Information, click Edit Account Information in the top right, change the address, then add it once more in the confirm field.

Click Save changes at the bottom right.
If you don’t customize the address or if you leave the field empty, invoices will go to the email address you signed up with when you created your Customer.io account.
Specifying a technical contact
Also in Account Settings, the “Primary technical contact” is the person to whose attention we bring any engineering-related problems. By default, we let all your account admins know.
If you click “Specify email address,” you can specify someone else we should contact. For example, if there’s an operational issue with your Customer.io setup, we can directly notify the person you think is best-placed to deal with it.
To do this, go to Account Information, click Edit Account Information in the top right, then add and confirm your technical contact’s email address.
Click Save changes at the bottom right.
If you don’t specify a custom email address (or leave the field empty), we’ll notify all account admins.